Today I noticed that some of last year’s garlic that I have in storage had started sprouting. To rescue it, I turned it into garlic powder: it’s a little painstaking to make, but with only one ingredient it’s very simple.
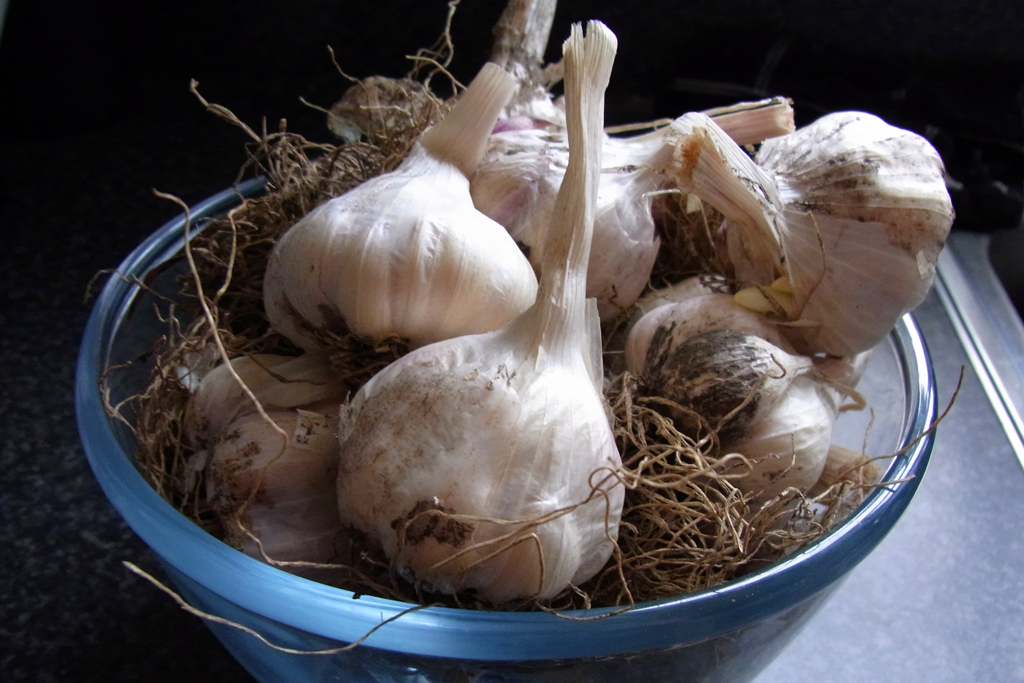
Keeping garlic bulbs in a cool dark place will hold them in good condition for months. I have mine hanging up in a cloth bag in the garage, which happens to keep any passing vampires out as well. But as the weather starts to warm up at this time of year, they can start trying to grow and reproduce by sprouting. The familiar sight of a green shoot growing out of a bulb is quite a nuisance as the individual clove will soon be pretty inedible.
By slicing and baking the cloves while they’re still good, you can easily process them into a powder which can be added to hundreds of recipes.
Hints and Tips:
- I used my home grown Provence Wight garlic, but shop-bought will work just as well.
- In one way, shop bought garlic may be better as the cloves are usually large and uniform, making the peeling and slicing less arduous than with my smaller cloves.
- If your fingers start to get sticky with the garlic juice while you peel and slice, stop to rinse them thoroughly then continue. A lot of contact with that juice can make your fingers sting badly afterwards.
- If you line your baking tray with baking paper, try not to have the paper turning up at the edges; that can stop the oven air flowing across the garlic and make the drying process more difficult.
- If you open the oven door early during the drying, turn your face away at first; the air that comes out can be very pungent!
My recipe for garlic powder
Garlic Powder
Ingredients:
- 250g (9 ounces) garlic. That’s roughly five large bulbs, or up to ten small ones.
Method:
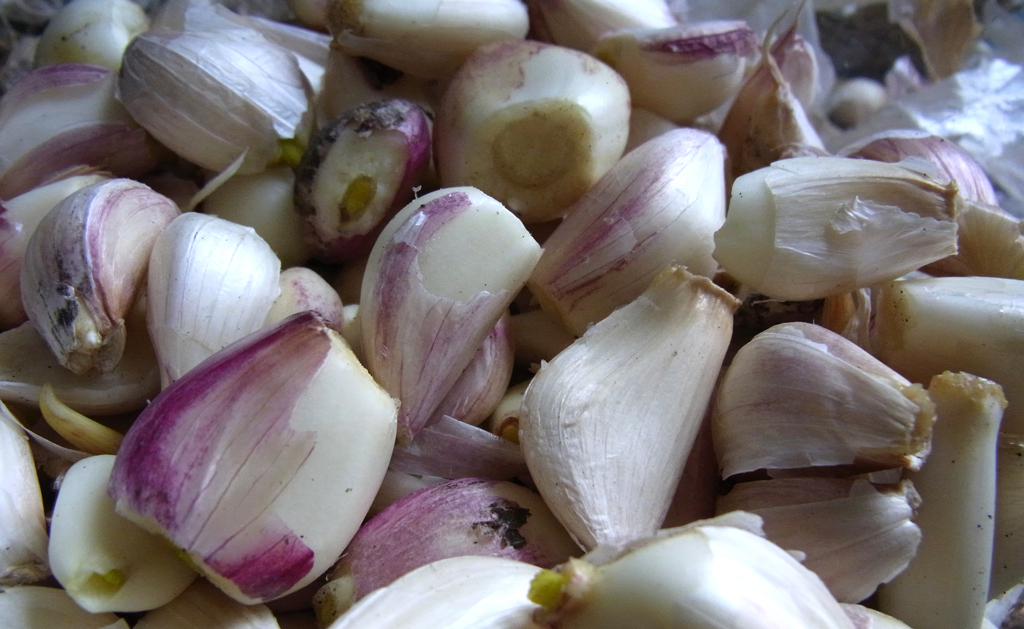
1. Break the bulbs into cloves.
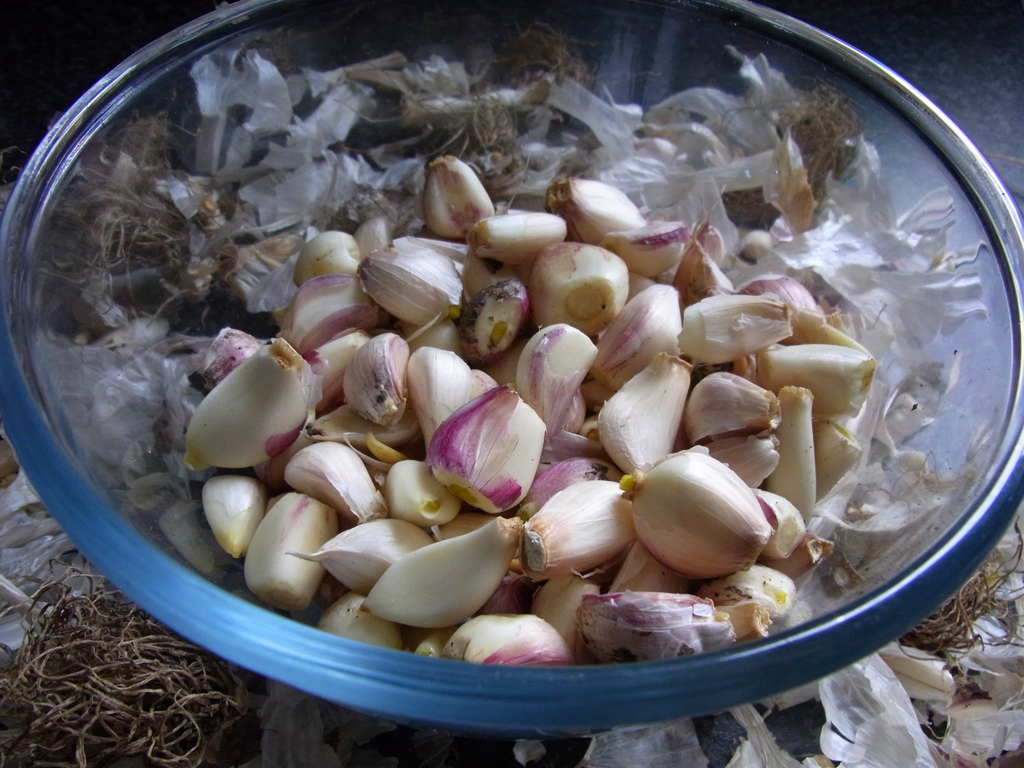
2. Peel each clove, cutting off any woody ends and making sure not to leave any paper.

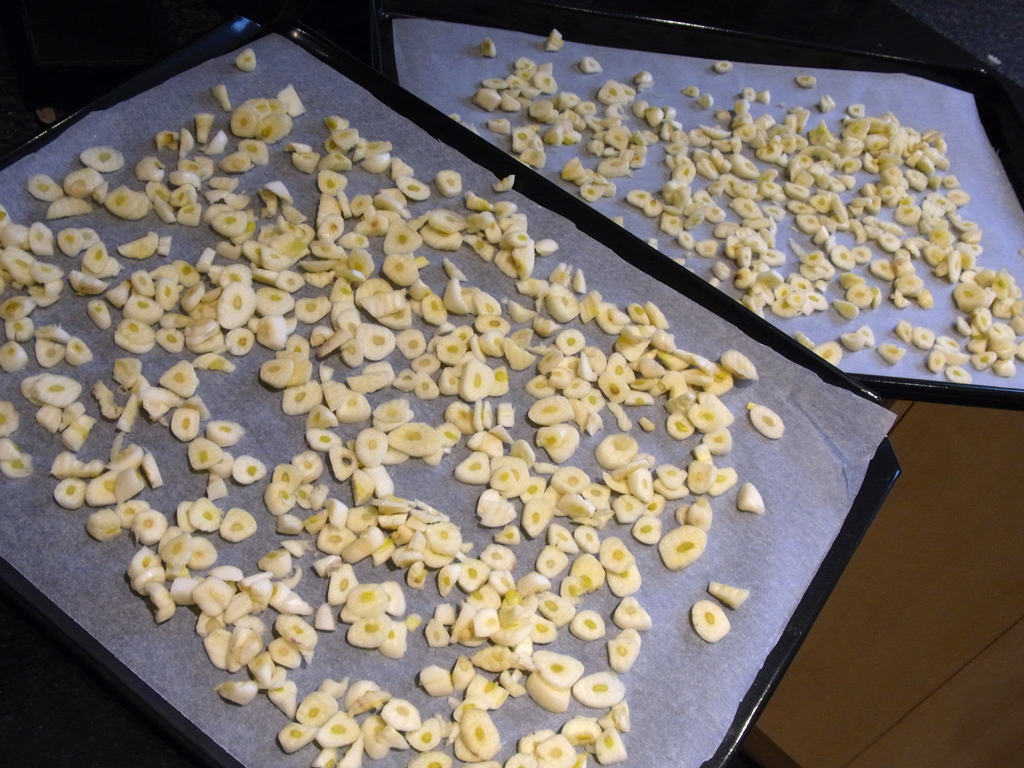
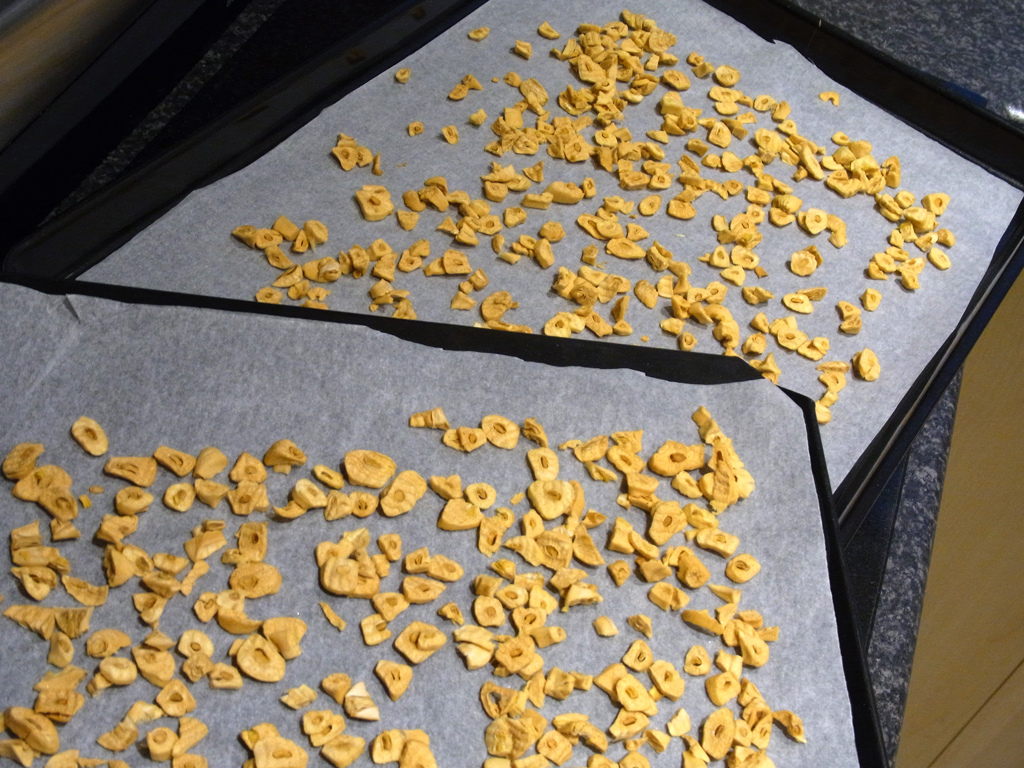
3. Slice each clove into thin pieces.

4. Lay them out on a baking tray lined with paper (I needed two trays). Try to make a single even layer.
5. Bake in the oven for about 90 minutes at a low temperature: 100C / 210F. That’s in a fan oven. Non-fan will take a little longer.
6. Keep checking that the garlic doesn’t burn.
7. After the 90 minutes remove from the oven.
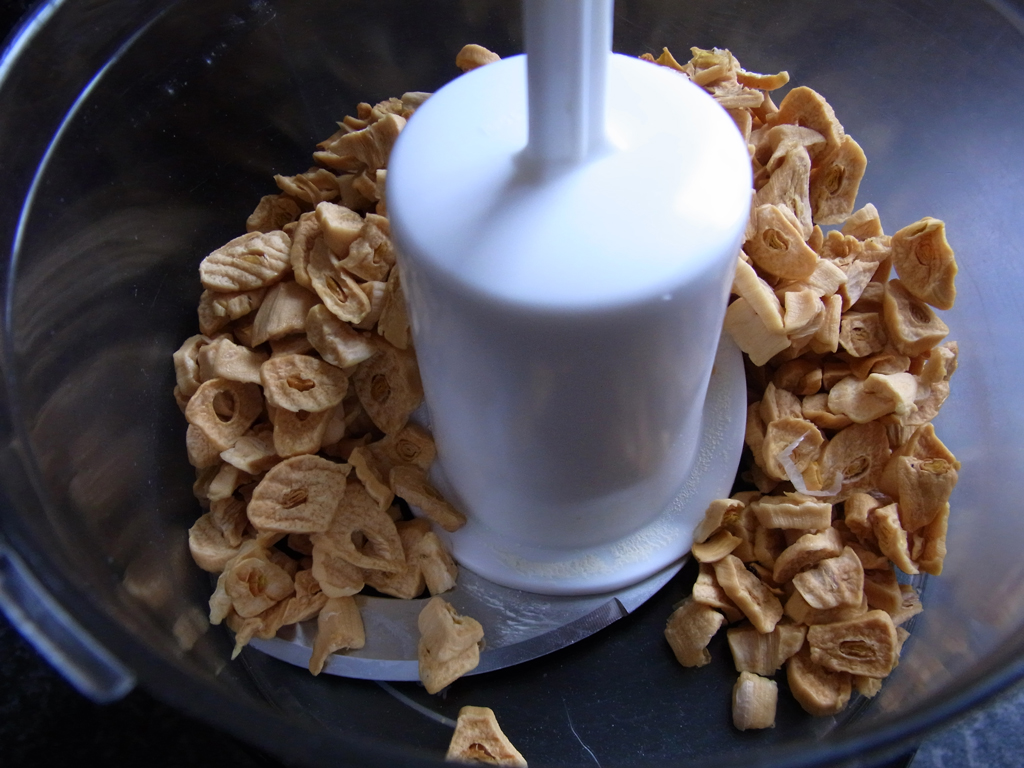
8. Leave them to cool on the trays for ten minutes. The now shrunken slices will firm up and become easy to snap.

9. Blitz in a food processor or grind in a pestle and mortar.
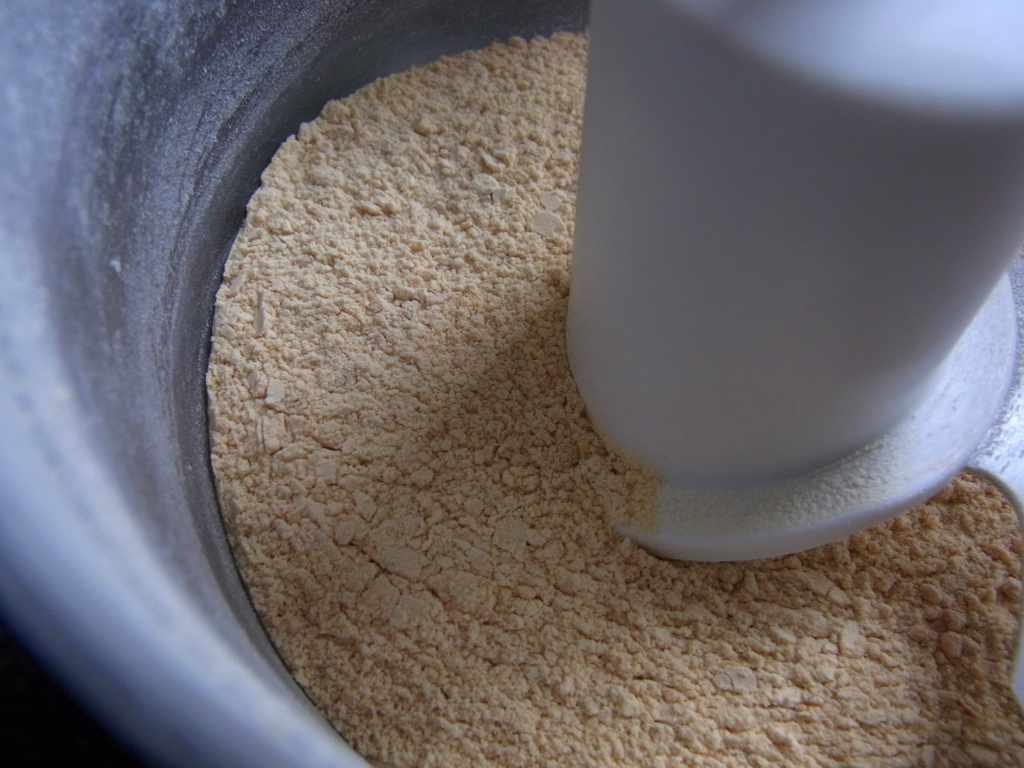
10. Put in an air tight jar and keep in a dark place.

Enjoy adding your tasty new condiment to soups, casseroles, stir frys and a hundred other dishes!
P.S. Check out this post from a blog called ‘Herbs and Wildcrafting’ for great ideas of other vegetables to dry and powder.

Very good idea! We might have to make an attempt at this too. 🙂 Made paprika powder so far.
LikeLike
Thank you Siljedaber. And I must try making paprika powder 🙂
LikeLiked by 1 person